Creating a fillable form may seem like a daunting task, but it’s actually quite straightforward with the right tools. Whether you prefer Google Docs, Adobe Acrobat, or Microsoft Word, we’ve got you covered! In this guide, we’ll walk you through the step-by-step process of creating a fillable form using each of these popular platforms. Plus, we’ll share some best practices to ensure your forms are user-friendly and effective.
Best Practices for Creating Fillable Forms:
Now that you know how to create fillable forms, here are some best practices to keep in mind:
- Keep It Simple: Design your form with a clean and intuitive layout. Avoid clutter and unnecessary fields.
- Use Descriptive Labels: Clearly label each field or question so users understand what’s required.
- Test Your Form: Always test your form to ensure that it works as expected on different devices and browsers.
- Include Clear Instructions: If needed, provide instructions or guidelines to help users complete the form correctly.
- Accessibility: Ensure your form is accessible to all users, including those with disabilities, by using accessible form elements and providing alternative text.
- Data Validation: Implement data validation to prevent errors. For example, use dropdown lists for predefined options.
- Privacy: Consider privacy concerns and inform users about how their data will be used and protected.
How to Create a fillable PDF in Google Docs

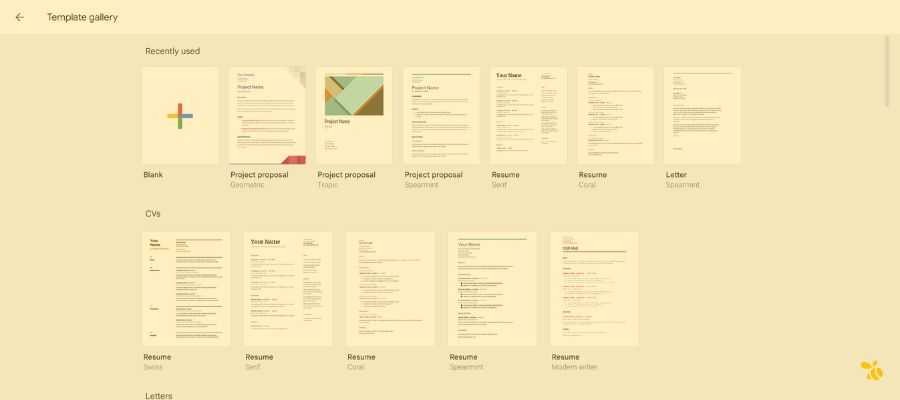
Google Docs is a user-friendly and free tool for creating fillable forms. Follow these steps to get started:
Step 1: Open Google Docs
- Go to Google Docs (docs.google.com) and sign in to your Google account.
- Click on “Blank” to start a new document.
Step 2: Insert a Table
- Click on “Table” in the top menu and select the number of rows and columns you need for your form.
- Customize the table size according to your form’s layout.
Step 3: Add Form Fields
- In each cell of the table, you can add various form elements such as text boxes, checkboxes, and radio buttons.
- To add a text box, click on “Insert” > “Text box.”
- To add a checkbox, click on “Insert” > “Checkbox.”
Step 4: Label Your Fields
- Click on each form field to add labels or questions.
- Adjust the formatting and alignment as needed.
Step 5: Make It Fillable
- To make the form fillable, share the document by clicking the “Share” button in the upper right corner.
- Choose “Anyone with the link” and select “Viewer” or “Commenter” access.
- Share the link with your audience.
How to Create a fillable PDF in Adobe Acrobat:

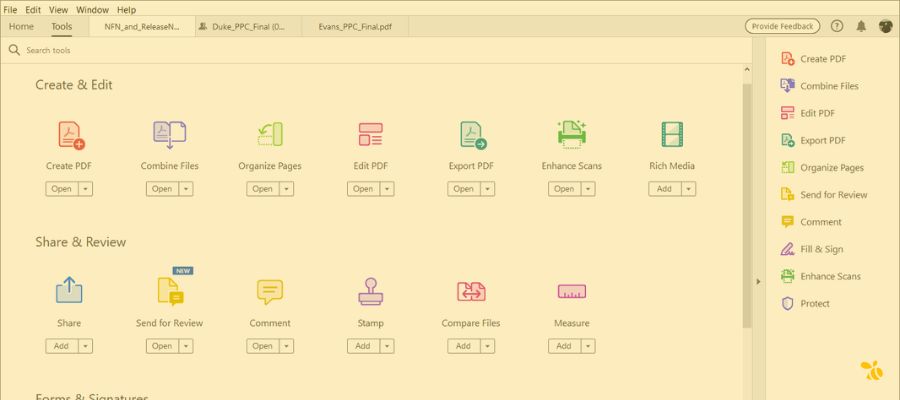
Adobe Acrobat offers powerful features for creating fillable PDF forms. Here’s how to do it:
Step 1: Open Adobe Acrobat
- Launch Adobe Acrobat and open the PDF file you want to turn into a fillable form.
Step 2: Add Form Fields
- Click on “Tools” > “Prepare Form.”
- Acrobat will automatically detect form fields and add them to the document. You can also manually add fields by selecting the appropriate tool from the toolbar.
Step 3: Customize Form Fields
- Double-click on each field to customize properties like field name, font, and alignment.
- To add a new field, select “Add a New Field” from the toolbar and choose the field type (text, checkbox, radio button, etc.).
Step 4: Save Your Form
- After adding and customizing the form fields, save the document as a PDF.
- Your fillable form is now ready to share with others.
How to Create a fillable PDF in Microsoft Word:

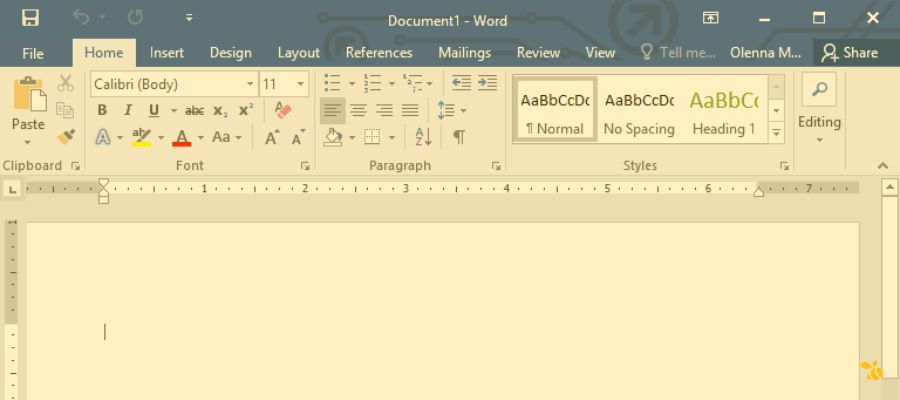
Microsoft Word is a familiar platform for creating fillable forms. Here’s how to do it:
Step 1: Open Microsoft Word
- Launch Microsoft Word and open a new document.
Step 2: Enable Developer Tab
- If the Developer tab is not visible, go to “File” > “Options” > “Customize Ribbon.”
- Check the box next to “Developer” and click “OK.”
Step 3: Add Form Controls
- Click on the “Developer” tab, then select “Legacy Forms” in the Controls group.
- Choose the form control you want to add (text field, checkbox, dropdown, etc.).
- Click on the form where you want to insert the control.
Step 4: Customize Form Controls
- Right-click on each control to access properties like name, size, and default value.
- Adjust these properties to match your form’s requirements.
Step 5: Protect the Form
- To make the form fillable, go to “Developer” > “Protect Document” > “Restrict Formatting and Editing.”
- Select “Filling in forms” as the editing restriction and set a password if desired.
- Save the document.
Creating fillable forms doesn’t have to be a daunting task. With the step-by-step instructions provided for Google Docs, Adobe Acrobat, and Microsoft Word, you can easily create user-friendly forms that serve your needs. Remember to follow these best practices to make your forms efficient and accessible. Happy form-building!


Leave a Reply